


Last updated on January 23rd, 2024 at 02:34 am
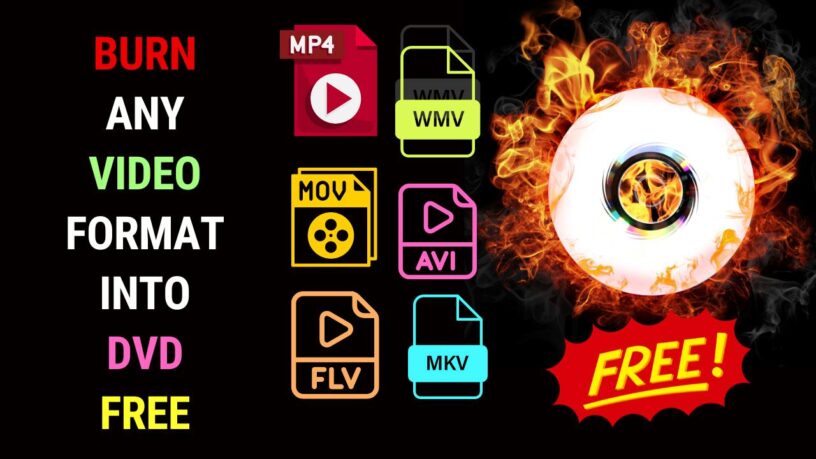
This DVD flick tutorial guides you step-by-step on how to burn your video clips into a DVD, complete with menus to play on your DVD player.
Start by learning the DVD basics before moving on to the tutorial to get the best out of this DVD Flick guide.
Part 1 : DVD Flick Basics
DVDs may not be cool in these days of Full HD and 4K videos. However, there are many folks out there who still own functional DVD players and have DVD writers on their computers.
Creating DVD movies may seem a little outdated in this age of streaming videos, with platforms like YouTube and Netflix reigning supreme.
But DVDs are not about to call it a day. If you’re a DVD enthusiast with the necessary hardware setup to create DVD movies, then you may be looking for a DVD creation software.
There are many DVD-burning software programs out there, including free ones. But then, if you have an older computer, you may want to try DVD Flick, as it supports older operating systems.
You may also have an older video file format that newer DVD burning software may not support. If so, DVD Flick supports many video codecs you may not have heard of.
With DVD Flick, you don’t have to break the bank to create professional-looking DVDs, complete with personalized menus and chapter breaks.
Share vacation highlights with loved ones, relive special events like weddings and birthdays, or even create your own independent film masterpieces – all from the comfort of your home.
In this DVD Flick guide, you’ll learn step-by-step how to install the program, create chapters for your video, insert subtitles, and finally burn a functional DVD.
DVD Flick System Requirements
You would want to review the system requirements before downloading and installing DVD Flick.
Operating Systems
- Windows 2000 Professional or later
- Windows XP
- Windows Vista
- Windows 7
- Windows 8
- Windows 8.1
- Windows 10
Processor
- Pentium MMX or compatible AMD processor (or better)
- Pentium IV or later recommended (the faster, the better)
- Multithreading supported
Memory
- At least 256 MB of free physical RAM
- 512 MB or more is recommended (especially for Windows Vista and above)
Additional Requirements
- DVD writer (compatible with DVD-R, DVD-RW, DVD+R, or DVD+RW discs)
- DirectX 9.0 or later
Optional
- DVD Decoder (if your system doesn’t have one built-in)
- DVD Shrink (for compressing large video files to fit on a DVD)
- While DVD Flick is a 32-bit program, it can run on 64-bit systems using the native WOW64 x86 emulator.
The above are the modest minimum system requirements. Chances are you have a computer that surpasses the above requirements. For optimal performance, it is recommended to have a more powerful computer.
Next, you would want to take the AV codecs and file formats that DVD Flick supports.
Supported AV File Formats
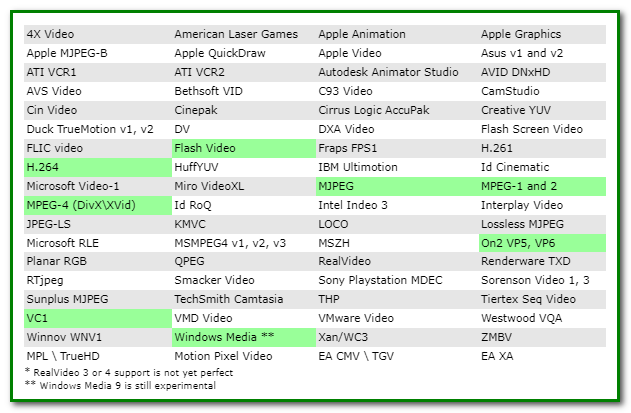
Here are the video and audio codecs DVD Flick supports. Included are video container formats.
Popular video codecs are highlighted in green. So, even if your video had been created in a codec no longer popular, you’ll still get to burn a usable DVD.
Supported Video Codecs
Run the list below to check whether your video is in a supported codec.
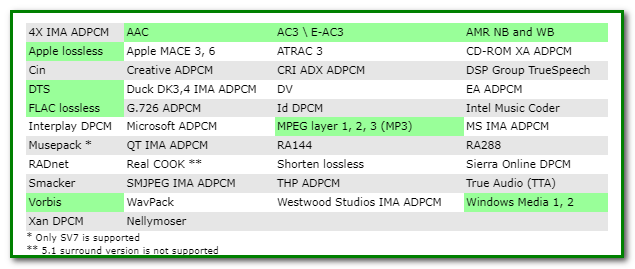
Supported Audio Codecs
The following are the audio codecs DVD Flick supports. So even if your video uses an older audio codec, there’s little to worry about.
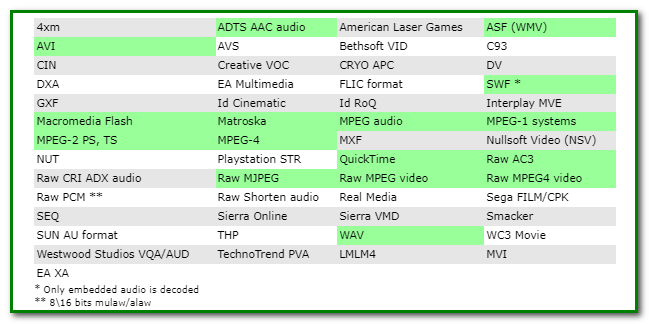
Supported AV Container Formats
Here’s the list of supported AV container formats.
Supported Subtitles
Subtitles add value to a DVD movie. Here are the supported subtitle formats. You’re good to go as long as your subtitles are in the SRT format.

Part 2: Getting Started – DVD Flick Tutorial
In this part of the DVD Flick guide, you’ll learn how to install the
Is DVD Flick Safe?
Since you’ll be downloading a free program, you’ll wonder if DVD Flick is safe. Some free programs are known to be infected with viruses and malware.
In the case of DVD Flick, you can rest easy. DVD Flick is one of the oldest DVD-burning programs. It; ‘s available for download at the reputable Sourceforge and covered in Wikipedia.
Download and Install DVD Flick
Now that you have the hardware and video file requirements taken care of, you’re ready to download and install DVD Flick.
To download the program, head to this DVD Flick page. You’ll be brought to the Sourceforge page, where you can proceed with the download. You’ll download a .exe file. You may want to do an anti-virus scan before installing it.
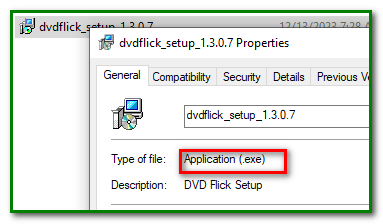
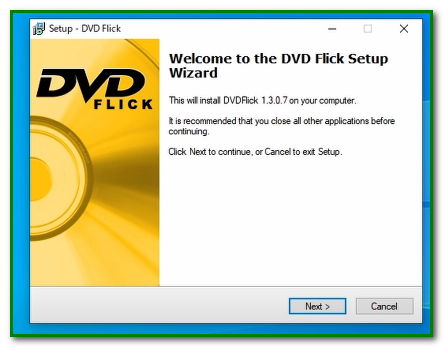
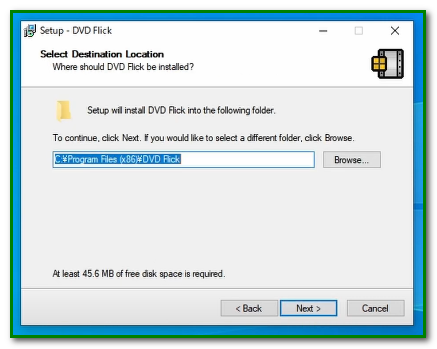
Click on the file to proceed with the installation.
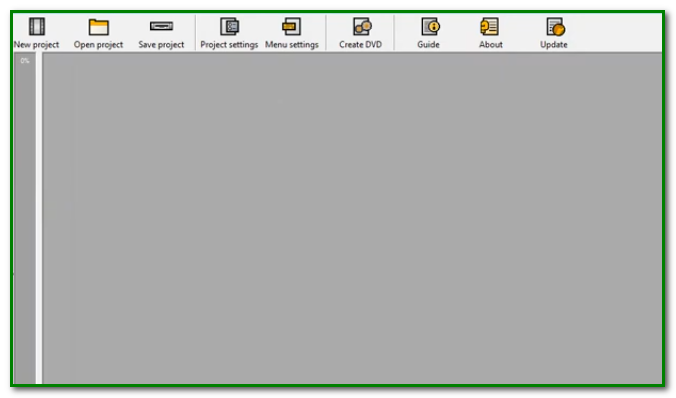
After installation is complete, you’ll be presented with this interface.
Project Settings
Before you start burning your DVD, you may tweak the project settings so that you can obtain the desired result.
Under General, you can give your project a title and select the

You can set the target size to DVD or DVD Dual Layer and DVD RAM among others. If you want a high-quality output with a longer rendering time, you may choose High under Encoder. But you can always leave it in the default Normal mode.
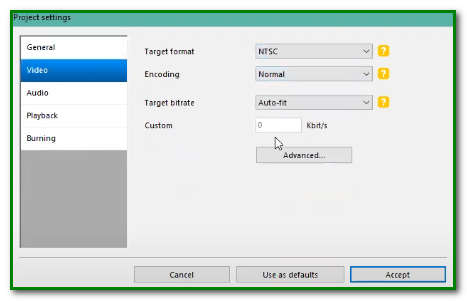
Video Settings
The target format could be chosen as PAL, NTSC, or NTSC-film. Encoding could be Normal, Fast, Fastest, or Best.
In most cases, the target bit rate should be left at Auto-fit. Let DVD Flick
set the bitrate according to the size of your DVD disc.
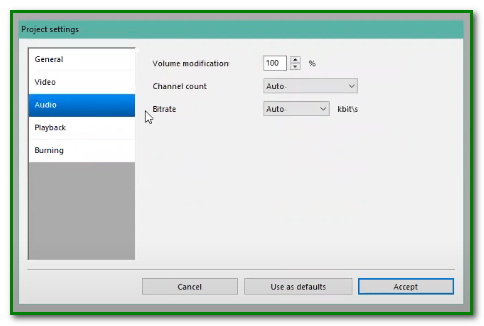
Audio Settings
You may want to up or lower the volume of the original or leave it as it is at 100%. You could opt for 5.1 surround under channel count if you have a home theater system.
Playback Settings
You would want to play the next file if you have many titles added. However, if you have only one title, you can choose the Play it again option or Stop playing.
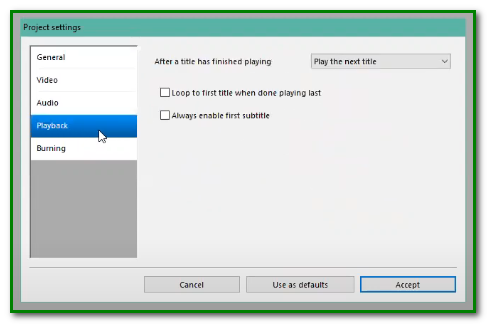
You can also choose Loop to the first title when the player has finished
with the last title.
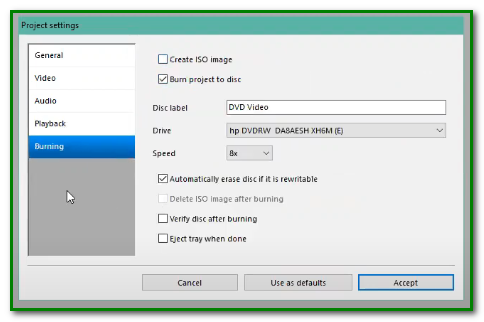
Burning Settings
The settings are pretty straightforward. But you may want DVD Flick to back up your project to disc for future use, in which case you tick Burn project to disc.
Otherwise, you leave the setting as it is.
When you’re done with your settings, click Accept, and you can even use the
settings as default if you don’t want to make any changes for your next
DVD Flick project.
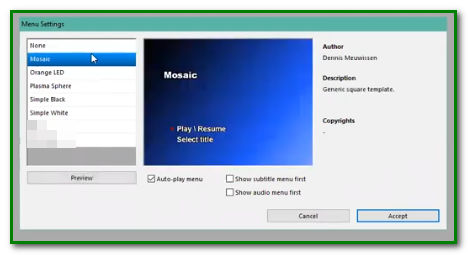
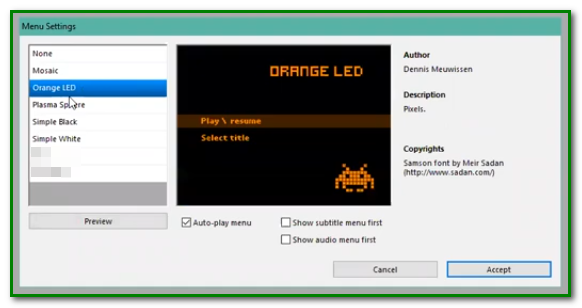
Menu Settings
You would also want to tweak the menu settings if you plan to include menus in your DVDs.
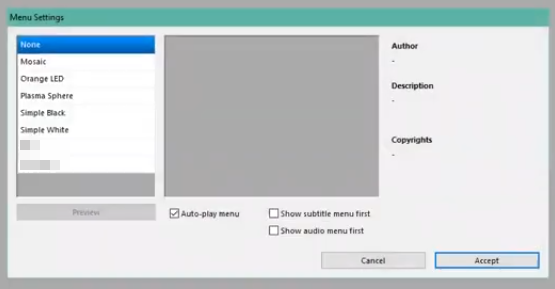
Here are some examples of menus you can create with DVD Flick.
You’re now ready to start creating your DVD.
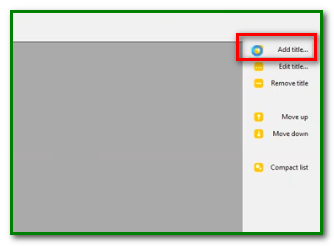
Add Title
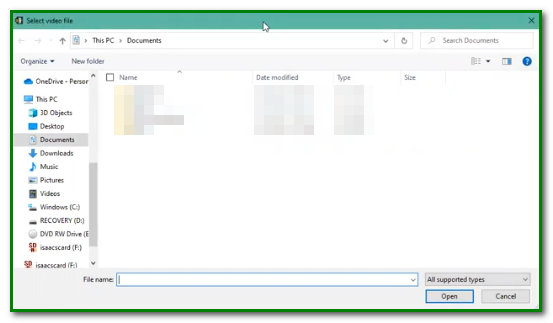
Let’s start the tutorial by adding your clips (Add Title) first to DVD
Flick and choose Save Project.
It’s advisable you do this as soon as possible after loading your clips to avoid redoing the task in case your computer crashes.
Edit File
After loading the file, you can choose the Edit title mode to set chapters for your title and even tweak the output aspect ratio.
You can set chapters to appear after a certain number of minutes. You can also set the number of chapters you would like to create.
DVD Capacitor Indicator
On loading the files, DVD Flick will reveal info related to it. You should note the length of the clip to see that it doesn’t exceed the DVD capacity.
DVD Flick provides a vertical indicator bar to your left to see how much disk space will be occupied.
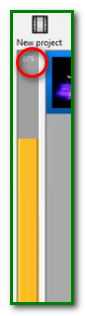
The yellow bar shows that your DVD has sufficient space to accommodate your chosen files. If the bar turns red, you should remove some files to free some space.
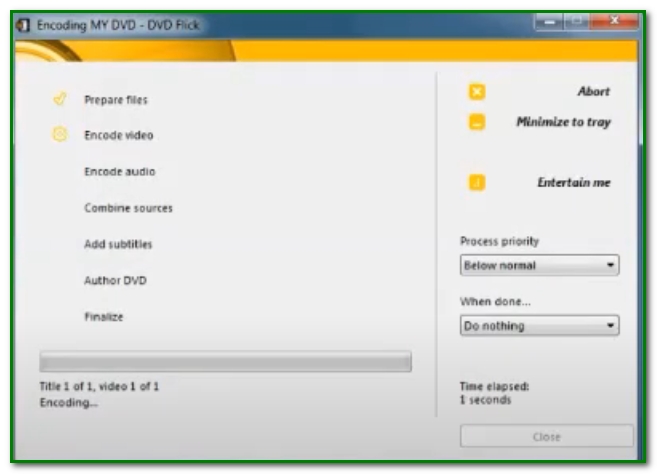
Create DVD
You need enough space on your hard disk to store the encoded DVD file. Otherwise, you would have to remove some titles so that there would be
enough space to proceed.
Make sure you insert a blank DVD or a rewritable DVD before proceeding to hit the Create DVD button.
Hopefully, this DVD Flick guide helps you through the steps of burning your video files into functional DVDs.
Click here to download DVD Flick For Free
Explore Also
The DVD-Audio Format and Why It Didn’t Catch On
How Can I Watch a DVD on a TV without a DVD player?
How to Fix a DVD that Skips and Freezes
Additional Resources
Check out these additional helpful resources:
- Download DVD Flick: https://www.dvdflick.net/download.php
- DVD Flick User Guide: https://www.dvdflick.net/guide.php
- SourceForge Project Page: https://sourceforge.net/projects/dvdflick/