


Last updated on January 23rd, 2024 at 02:34 am
With 8mm video playback devices becoming rare, it’s high time you convert your collection of family 8mm video to DVD or a digital format as soon as possible.
Nobody knows when your tapes would suffer water damage or heat damage, not to mention physical damage.
If such an unfortunate situation happens, you would have to fork out a huge sum of money to get them back to the original condition. This is not guaranteed, however. It depends on the extent of damage your tapes have suffered.
So, it’s better to be safe than sorry and convert your analog 8mm video to DVD while you’ve the means to do so.
You know the advantages of digital video. You could store it in various storage mediums – DVD, flash drives, hard disks, and even cloud storage.
Digital video files make for easy duplication, editing and sharing. And best of all you don’t have to worry about generation loss no matter how many copies you make of it.
8mm to DVD Conversion Steps
8mm Tape Condition
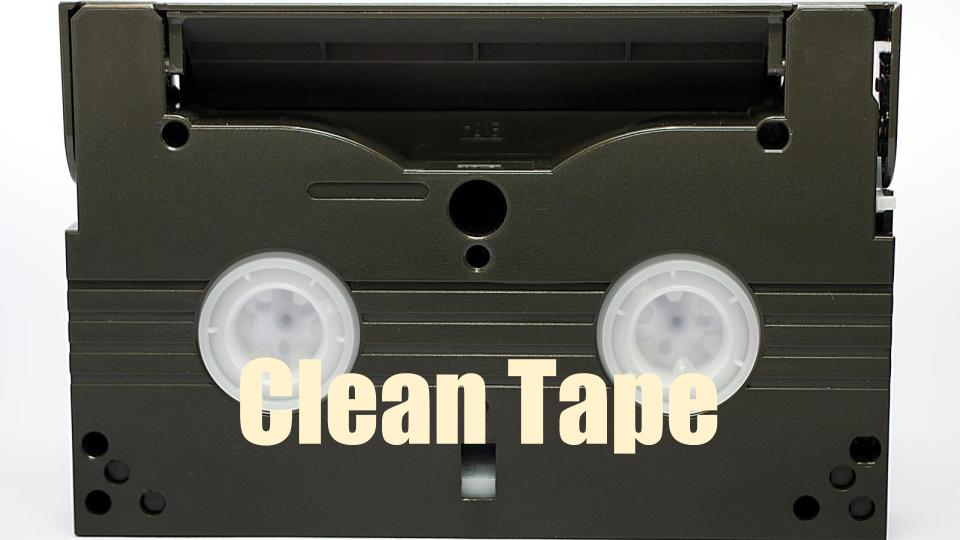
- Make sure your 8mm tapes are good condition. Make sure your tapes don’t have fungus attacks.
- Be careful not to play dirty tapes on your camcorder or 8mm tape player as they may damage the heads of your playback device. Our experience is 8mm tapes don’t easily get fungus attacks for years, compared to VHS tapes, if stored in normal conditions.
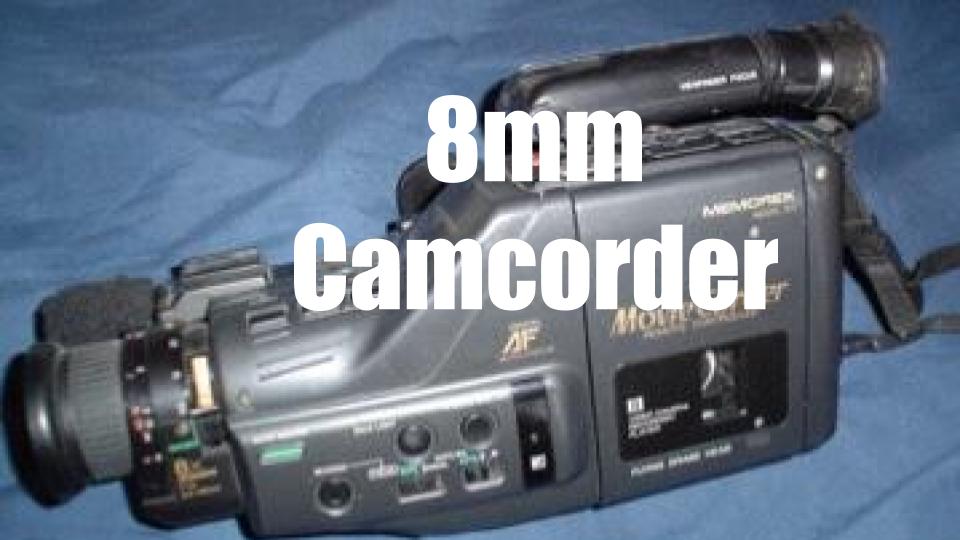
Next you would need a playback device. The automatic choice would be an 8mm camcorder. Having the right camcorder is crucial.
A video8 camcorder can only play a Video8 tape.A Hi-8 camcorder could play both Video8 and Hi-8 tapes.
A Digital8 camcorder by default can play VIdeo8, Hi-8 and Digital8 cassettes. However, some models can’t support Video8 and Hi-8 playback.
The other option you have is to use an 8mm video players.
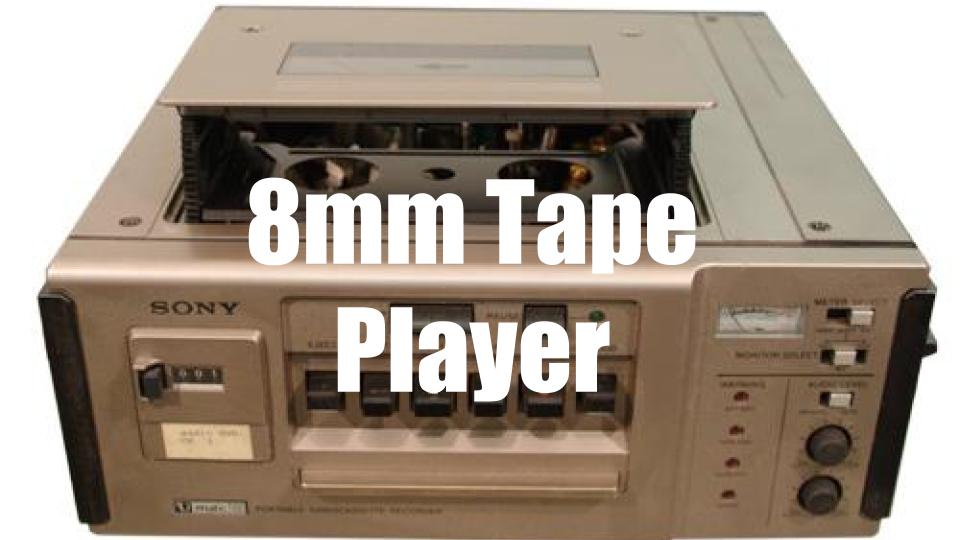
These players are very much like VCRs. Like 8mm camcorders, they’re no longer in production. You could source for used models over eBay.
In most instances it would not be worth your money as a used model may set you back by about USD250. Not worth it if you’re converting a few tapes
Computer. Next you would need a computer as a receptacle of the converted digital video. If you have a newer computer, less than five years old, chances are you’ll have enough processor power, RAM and hard disk space to capture video. A Free USB 2.0 port would be required to plug in an external capture device though.
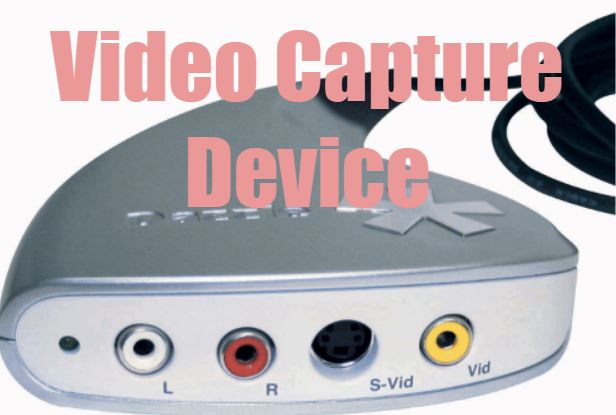
Capture Device. You will need this as the bridge between your camcorder and your computer. When video footage passes through the bridge, it’s converted to digital and received in the hard disk. You could do well to buy an external video capture device as it would be easy to set up and switch between computers.
DVD Recorder (Optional) – If you don’t want to use a computer, then you could use a DVD recorder. This is a much simpler process. You also won’t need a video capture device if your going the DVD recorder route. You could connect your 8mm camcorder to your DVD recorder directly with a set of RCA cables or S-Video cable with RCA audio cables. The drawback is you don’t get to edit your video. Unless the video is already edited, don’t go this option. You may end up with long, dull footage.
Firewire capture. If you’re using a Digital8 camcorder, then there’s an option to use Firewire capture. You’ll need a Firewire cable for this and your computer must have a Firewire port as well. If you have this facility, then you can do away with a capture device. Learn more about Firewire video capture.
Video Capture Software. If you’re using an external video capture device, chances are it would come bundled with with capture software (usually a lite version of a video editing program). Follow the instructions in the manual and install it.
If you’re using Firewire capture then the video editing software that came with your operating system – iMovie or Windows Live Movie Maker – should detect a camcorder connection and prompt you to capture video. Otherwise you could download a free video editor which comes with Firewire video capture support.
Be ready with the necessary A/V cables to connect your camcorder to the capture device. The cables you might be using are most probably RCA or S-VHS cables if your camcorder and your capture device supports it.
Do a test capture, following the instructions in your video capture device manual. Check to see if a preview of the footage from the camcorder plays in the video preview window of your software.
If everything is fine. Play your camcorder and record the video from the capture software.
As mentioned earlier, a video capture software would also be an video editor that allows you to edit your video and add/remove soundtrack, add titles.
Once you’re happy with the edited version, you could export the video as a DVD if your computer comes with DVD Writer (DVD-RW). Or you could export it as a digital file in the format you prefer to play back on a HD television or upload to a video sharing site.
If you follow the steps above, chances are you could get your 8mm video turned to DVD.
The steps here are just an overview of of 8mm video to DVD tranfer. They may vary slightly, depending on the hardware and software you use.
Here’s another workaround to convert 8mm video to DVD. Watch the video to learn more.